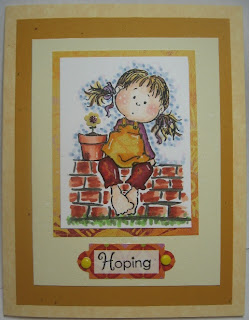
I will warn you now: this is going to be a long post because I am going to share with you how I do my backgrounds. I saw others with something similar so I tried to make mine look similar. I don't know if this is how everyone does theirs or not. First the finished project.
This is Tilda writing in her diary. She must have been writing lots of diaries or maybe she is a writer sitting on those books. Tilda is colored in copics. This card is for the challenge on Just Magnolia
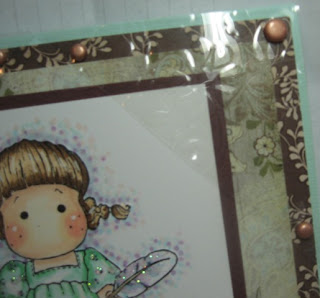
here to use acetate on your card. My four corners are all done with acetate. First I ran them through a cuttlebug embossing folder and then cut the triangles for the corners and held them done with copper brads. Here is a close-up.
Tilda's feather, sleeves and lace on the bottom have stickles applied. The flowers in the corner have a different glitter glue on them.
Okay on to how I do the shadowing around Tilda.
First take the darkest color that you want and make little dots all around. Make them a bit random so they aren't all the same distance apart as shown here.
I used B00 and then I added BG10 shown here.
Notice this is rather random also. You can make the dots as big or small as you like. I tend to keep mine rather small and close together.
Next I added R00
Then comes V000. Each time I take the dots farther out but put some in around the other dots.
I looked at it and decided I wanted the shadowing to be darker so I went back and added V15 close to the image.
Now you take the blender pen 0 and rub everything together to give a more smooth look instead of just dots.
Now I added some C1 in the spots I thought would be darkest and at the bottom of the books.
Then go back and blend some more. You can use any color combination that you like.
Hope this helps.


